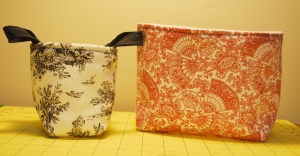
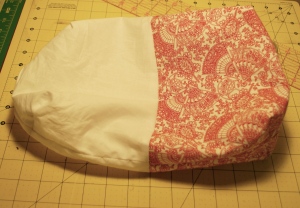
My Winter 2013 Sew Easy class is making these little lined baskets–just in time to fill with Valentine’s Day treats! (But they are perfect for every day, too.) I keep one on my kitchen counter to hold all the odds and ends that haven’t yet found a home and a larger one next to my bed is full of magazines. Fusible fleece gives these bags great structure, but for larger ones, try experimenting with a firmer fusible stabilizer like Pellon Craft Fuse.
The directions below are specific to my Sew Easy class, but you may size yours as you like. Just make sure you begin with 4 pieces of fabric that are identical sizes and you’ll be successful. (Remember that a larger basket will need a larger boxed corner.) If you want more practice inserting linings, try making reusable snack bags which apply the same principles.
This is a great project for beginner sewing. The skills you will develop by sewing these bags are:
- cutting straight lines
- sewing straight lines
- topstitching
- understanding the concept of boxed corners
- understanding the basics of lining a bag
Supplies needed:
- your basic sewing supplies
- two fat quarters or remnants in complementary patterns/colors
- fusible fleece
- matching thread
All seam allowances are 1/2″ unless noted
Step 1: Fuse Fleece
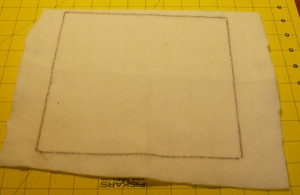
Following directions on the fusible fleece, fuse to the wrong side of your exterior fabric.
Step 2: Cut Fabric
Cut two pieces each from your exterior fabric and interior fabric. For our class, we are cutting our fabric 12″ wide by 9″ high. You will have a total of 4 pieces.
Step 3: Prepare Boxed Corners
In our class, we will make a 3″ boxed corner. So, from each bottom corner (there are 4 total), cut away a 2″ square. Why 2″? Each square will contribute to half of the bottom and there is a 1/2″ seam allowance. Thus, by the time the the bottom is sewn, only two 1 1/2″ halves will remain for a total of 3 inches.
Step 4: Sew Together Exterior and Interior Fabrics Sides
Backstitching at the beginning and end, sew the sides of like fabrics together. Stop at the boxed corner. Do not sew inside the boxed corner.
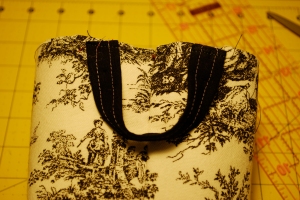
Note: if you want to add handles, decorative or functional, do this now by sewing them at even distances on each side of the seam. Sew handles with a 1/4 ” seam allowance and reinforce by reversing and re-sewing a couple of times.
Step 5: Sew Bottoms
For the exterior fabric, sew across the bottom, backstitching at beginning and end. Stop at the boxed corner. Do not sew inside the boxed corner.
For the interior fabric, sew bottom as shown in this photo. You are leaving a hole to turn the entire basket right-side-out. The exit strategy I use will help the fabric turn inside and make swing the hole closed much easier.
Step 6: Sew Boxed Corners
Pinch squares together, matching seams. Open seams (pinning will help keep them open) and sew across, being sure to backstitch at beginning and end. Do this for both the exterior and lining. Now you will have an unlined basket that sits upright.
Step 7: Insert and Sew in Lining
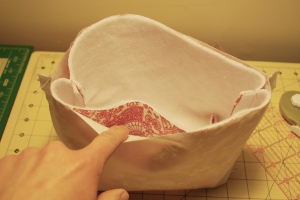
With exterior right-side-out and interior inside-out, place exterior inside interior. Match seams and pull gently on sides to make sure there aren’t any large gaps. If either interior or exterior is too large, take in at the seams.
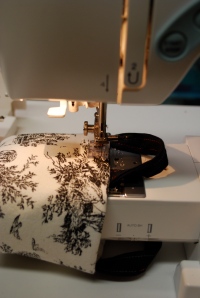
Free the arm of your machine and place basket over the arm. Starting at one seam, sew all the way around–don’t worry, you aren’t sewing it shut because you left a hole in the lining where you will turn it right-side-out.
Step 8: Finish Basket
Using the hole in the bottom of the lining, turn basket right-side-out and sew the opening closed by hand or machine. Tuck the interior inside the exterior fabric and press the top. Finish with a topstitch 1/8″ to 1/4″ from the top.
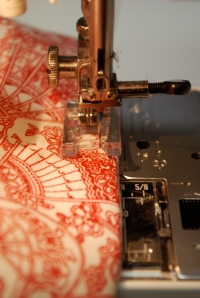
I am using an applique foot to attempt to show you how closely to sew to the top. Please don’t use an applique foot yourself, though!
Fill with treats and pass it along to a friend. You can even creating a nesting set!

